Maytag Global HE dishwasher error codes:
Reference Model: Maytag HE dishwasher
Maytag dishwasher error codes are signaled by the control flashing the Clean light in a pattern unique to the error. The Clean light first flashes the Function code, pauses for 2 seconds, and then flashes the Problem code. For example, 6 flashes followed by 1 flash (6-1) means "Inlet Water" function, "The electronic control doesn't detect water entering the dishwasher tub" problem.
After a 5-second pause, the light repeats the pattern. The control console is disabled when a Maytag dishwasher error code is flashing.
| Code | Meaning | Possible Cause | Possible Parts |
| 1-1 | Stuck relay on the electronic control board | Shut off power to the dishwasher for 5 minutes. If the code resumes when you restore power, check the wiring connected to the control board for damage and repair any broken wires. Measure the resistance through all components connected to the control board using the tech sheet as a guide. You can find the tech sheet behind the bottom front toe panel of the dishwasher. Replace any defective components. If the wiring and components are okay, replace the electronic control board | Electronic control board, wiring harness |
| 1-2 | All the LED's are on because the user interface control is incompatible with the electronic control board | The code appears when you install the wrong user interface control. Order and install the correct user interface control for your model of dishwasher | User interface control board |
| 2-1 | Stuck button on the user interface control | Check all buttons on the user interface control for a response. If one or more of the buttons don't work, unplug the dishwasher to disconnect electrical power and disconnect the user interface control wire harness. Reassemble the door with the user interface wire harness disconnected, but don't close the door. Plug in the dishwasher and wait at least 7 seconds for the electronic control board to power up completely. Then close the door. If the electronic control no longer detects stuck buttons with the user interface wire harness unplugged, it will start the drain pump. If the drain pump runs, replace the user interface control. If the drain pump doesn't run, then replace the electronic control board because it still detects stuck buttons with the user interface control unplugged | User interface control, electronic control board |
| 2-2 | User interface control can't communicate, with electronic control board | Shut off power to the dishwasher. Check the wiring between the user interface control and the electronic control board. If the wires and connections are okay, replace the user interface control board. If the problem persists, replace the electronic control board | User interface control, electronic control board |
| 3-1 | Thermistor/OWI sensor failure | Unplug the dishwasher to disconnect electrical power and then check the wiring between the electronic control board and the thermistor/OWI sensor. Repair or replace the wire harness if broken. If you find the wiring undamaged, replace the thermistor/OWI sensor | Thermistor/OWI sensor, wire harness |
| 3-2 | Shorted thermistor/OWI sensor | Unplug the dishwasher to disconnect electrical power and then check the wiring between the electronic control board and the thermistor/OWI sensor. Repair or replace the wire harness if broken. If you find the wiring undamaged, replace the thermistor/OWI sensor | Thermistor/OWI sensor, wire harness |
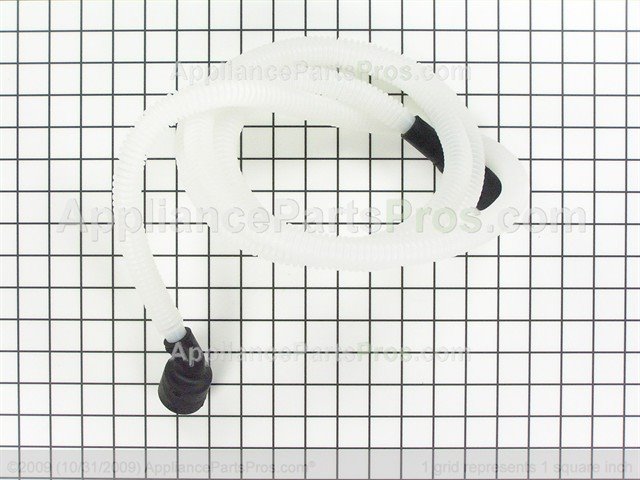
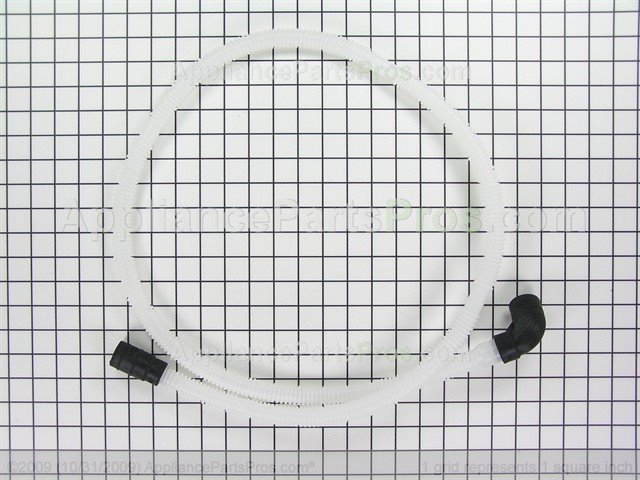
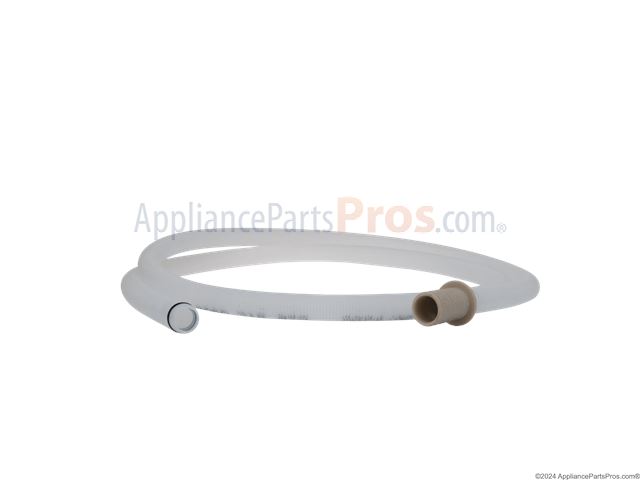
| 3-3 | OWI failed to calibrate or the drain hose check valve failed, allowing dirty water to back-flow into the dishwasher | TDisconnect the dishwasher drain hose connection from the air gap or the garbage disposal if you have no air gap. Pour water through the drain hose to see if water backs up into the dishwasher tub. If so, replace the portion of the drain hose that connects to the drain pump because the check valve in that hose failed. If water doesn't back up into the dishwasher through the drain hose, reconnect the hose and run the Service Diagnostics Test according to the instructions in the tech sheet. You should see low soil level indicated during the OWI test in the diagnostic mode. If you see high soil level during the OWI test, unplug the dishwasher and clean the OWI sensor. Reassemble the dishwasher and plug the dishwasher back in to restore electrical power. Run the diagnostic test cycle so the electronic control board will calibrate the OWI sensor on the next cycle. Run a normal wash cycle. If you still see the error code, replace the thermistor/OWI sensor | Thermistor/OWI sensor, drain hose |
| 4-3 | Communication error between the electronic control board and the circulation pump motor | Unplug the dishwasher to disconnect electrical power. Check the circulation pump wire harness and reconnect any loose wires or replace the wire harness if damaged. If the wiring connections are okay, replace the circulation pump and motor assembly. If the problem continues, replace the electronic control board | Wire harness, circulation pump and motor assembly, electronic control board |
| 5-1 | Door switch failure | This code appears if you don't close the door within 4 seconds of pressing the Start/Resume button, or if the door latch assembly is broken. When starting a cycle, close the door within 4 seconds after pressing Start/Resume. If you can't start the cycle and the code continues, then the door switch could be defective. Unplug the dishwasher to disconnect electrical power. Disassemble the door and check the door switch wire harness. Reconnect any loose wires or replace the wire harness if damaged. If the wire harness is okay, replace the door latch assembly | Door latch assembly, wire harness |
| 5-2 | Control detects door not opening | The electronic control board expects to see the door open between cycles or the dishwasher won't start the next time you try to start a new cycle. If you didn't open the door between cycles, cancel the cycle. Open and shut the door, and then start a new cycle. If the cycle still won't start, then the door switch could be defective. Unplug the dishwasher, then plug it back in to simulate the door opening. If the cycle starts, replace the door latch assembly because the door switch isn't detecting the door opening | Door latch assembly |
| 6-1 | Won't fill | Check for an item stuck under the overfill float and remove it. If the overfill float sticks in the "up" position the dishwasher won't fill. Unplug the dishwasher to disconnect electrical power and shut the water supply valve. Disconnect the water supply line from the water inlet valve and check the water inlet valve screen for clogs. Replace the water valve if you find the screen clogged because debris from the clog can get into the valve body, causing the valve to stick open and possibly flood your kitchen. If the screen is clear, place the end of the water supply line in a shallow pan and briefly open the water supply valve to see if water flows from the supply line. If water doesn't flow, have a plumber repair the water supply to your dishwasher. If the water flows okay, check the wiring connections on the water inlet valve and reconnect any loose wires or replace the wire harness if damaged. If the wires are okay, you may need to replace the water inlet valve or the electronic control board | Water inlet valve, wire harness, electronic control board |
| 6-2 | Water inlet valve failure | Unplug the dishwasher to disconnect electrical power. Remove the bottom front access panel and toe panel. Check the wire harness connections on the water inlet valve. Reconnect any loose wires. Replace the wire harness if damaged. If the wire harness connections are okay, check the resistance of the water inlet valve using a multimeter. You should measure around 1,400 ohms of resistance through the water inlet valve. If you measure infinite resistance, replace the water inlet valve. If the problem continues, replace the electronic control board | Water inlet valve, electronic control board, wire harness |
| 6-3 | Suds or air are in the water pump | Check for sudsy water. If you see excessive suds, try to drain the dishwasher by cancelling the cycle. The drain pump will run for 3 minutes. If the drain pump can't drain the sudsy water, drain the water by hand or use a wet/dry shop vacuum to remove the water. | Water inlet valve, detergent dispenser, wire harness |
| 6-4 | The float switch is open | Check the overfill float switch to see if it's stuck or if an item is stuck under it. Check if the inlet water fill valve is properly shutting off the water supply when the dishwasher is off | Water inlet valve, Overfill float switch |
| 6-6 | Incoming water is too cold | Use an accurate thermometer to check the water temperature. If it's lower than 115-120 degrees F, check your water heater. If the water temperature is normal (120+ degrees F), replace the thermistor/OWI or the electronic control board | Thermistor/OWI, Electronic control board |
| 6-7 | Disconnected or damaged flow meter | Shut off power to the dishwasher. Check the wiring to the flow meter. If the wiring is intact, replace the flow meter | Flow meter |
| 6-8 | Problem with water softener regeneration valve (Water Softener Models Only) | Shut off power to the dishwasher. Check the wiring to the water softener regeneration valve. If the wiring is intact, replace the water softener regeneration valve. If the problem persists, replace the electronic control board | Water softener regeneration valve, wiring harness, electronic control board |
| 7-1 | Heating element doesn't work | Shut off power to the dishwasher. Inspect the heating element and replace it if it's visibly damaged. If not, check the wiring to the heating element. If the wiring is intact, replace the heating element | Heating element |
| 7-2 | Heating element won't shut off | Shut off power to the dishwasher for 5 minutes. If the code resumes when you restore power, replace the electronic control board | Electronic control board |
| 8-1 | Slow drain | Shut off power to the dishwasher and then shut off water. Check the drain path for an obstruction. If the drain path is clear, check the wiring on the drain pump. If the wiring is intact, replace the drain pump | Drain pump |
| 8-2 | Drain pump electrical problem | Shut off power to the dishwasher and then shut off water. Check the wiring on the drain pump. If the wiring is intact, replace the drain pump | Drain pump |
| 8-3 | Drain pump stuck on | Shut off power to the dishwasher and check the drain pump wiring. Replace the wire harness if damaged. If the wiring is okay, replace the electronic control board | Electronic control board, wire harness |
| 10-1 | Detergent dispenser failure | Unplug the dishwasher to disconnect electrical power. Remove the outer door panel and check the wiring connections between the electronic control board and the detergent dispenser. Reconnect any loose wires or replace the wire harness if damaged. If the wiring is intact, replace the detergent dispenser | Detergent dispenser, wire harness |
| 10-3 | Drying fan failure | Unplug the dishwasher to disconnect electrical power. Check the wiring between the electronic control board and the drying fan. Reconnect any loose wires or replace the wire harness if damaged. If the wiring is intact, replace the drying fan | Drying fan, wire harness |
Notes:
The thermistor is the water temperature sensor, the OWI sensor is the Optical Water Indicator that detects the amount of debris in the water.
Related Links
- Maytag Dishwasher Heating Elements
- Maytag Dishwasher Control Boards
- Affresh Dishwasher Cleaner is specially formulated to help remove limescale and mineral build-up
- White silicone adhesive caulk. Forms a heat resistant bond


