Repairing My Own Dryer
What a way to spend your long weekend...working on your own dryer...and the lady of the house didn't even offer me a coffee! ;-)
Brand: GE
Model#: PDSR473GT5WW
Age: Approx 10 years old
Complaint: Intermittent squeak noise, noise would occur approximately once per second - likely trouble maker is the rear bearing sleeve being worn and dry
Removed the power cord plug
Open the door and remove the 2 screws holding the top panel on.
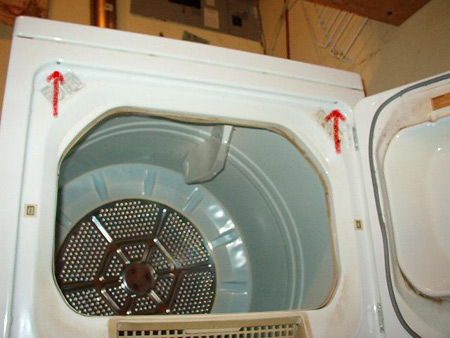
Removed the top panel, only "part" of the top panel comes off on many of the newer style GE dryers.

Removed the 2 screws on the inside top of the front panel and the top of the front panel comes forward and lifts off of the 2 clips on the bottom and the front panel could be swung over towards the left side ( facing the dryer ) because of the door switch wires. Oops, found front drum glides worn almost completely gone.
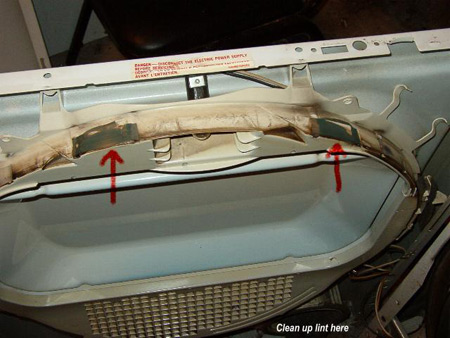
Also found a clump of lint in the air housing just before the fan blower, cleaned that all out!
Found the belt had some small cracks in it as well, not overly bad but while we had it apart - new belt time as well.
Next was to remove the drum to inspect the bearing sleeve. Had to remove 2 screws on the front so the side panels could be pushed outward a bit to allow the drum to come out through the front.

Reached in from the front to remove the belt from the idler pulley and motor pulley ( from the front is best - the dryer doesn't need to be moved but this takes practice as you are really working blind ). The idler pulley and arm can be pushed over and hooked onto the motor bracket to keep it out of the way.
Removed the drum and found the rear bearing sleeve dry and sticky and a groove was worn in the sleeve. Also found a groove cut in the idler pulley ( idler pulley keeps tension on the belt ). The rear bearing shaft appeared ok so I cleaned up the shaft with a rag and just installed the new bearing sleeve part and kept the new shaft for a future repair. The nut unscrews off of the idler pulley arm and the idler pulley pulls off, cleaned up the shaft with my rag and lubed the shaft with a little high temp grease before installing the new idler pulley.
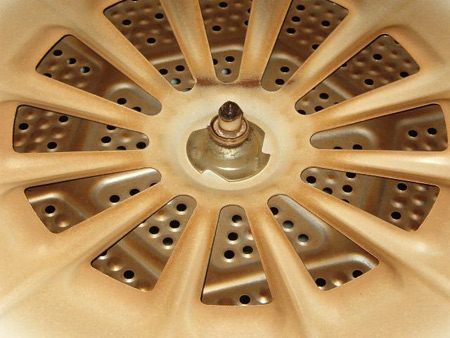
I vacuumed the motor and around the motor. I also used a paint brush ( new one ) to clean up inside the motor and around the motor switch.
I removed the operating thermostat ( from the fan blower area ) and cleaned off the facing as it often gets a little build up on it.
New rear bearing sleeve and added some high temp grease, 4 new front glides ( really only needed 2, but while it was apart I choose to do all four ), new belt and new idler pulley.
It was "easy" to see where the new belt should go as the old one had made a tell tale mark on the drum.

Parts needed for this repair:
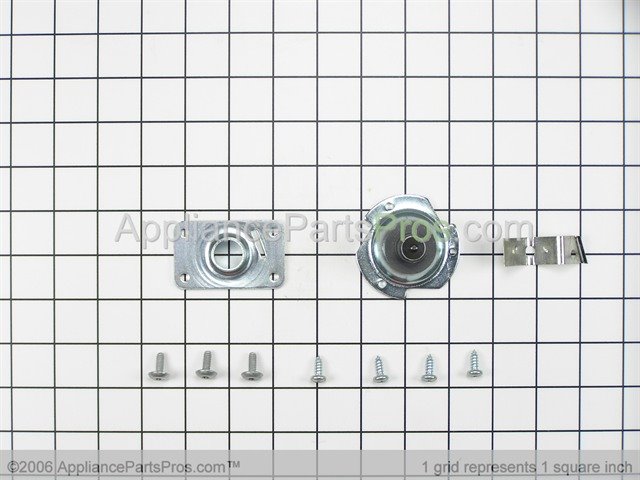
Rear drum bearing kit
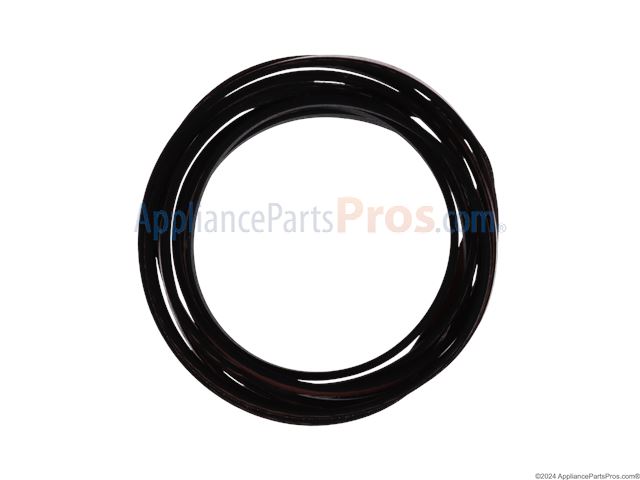
Dryer drum drive belt
Related Links
- General Electric Dryer Knobs, Dials & Buttons
- General Electric Dryer Control Boards and Timers
- General Electric Dryer Heating Elements


